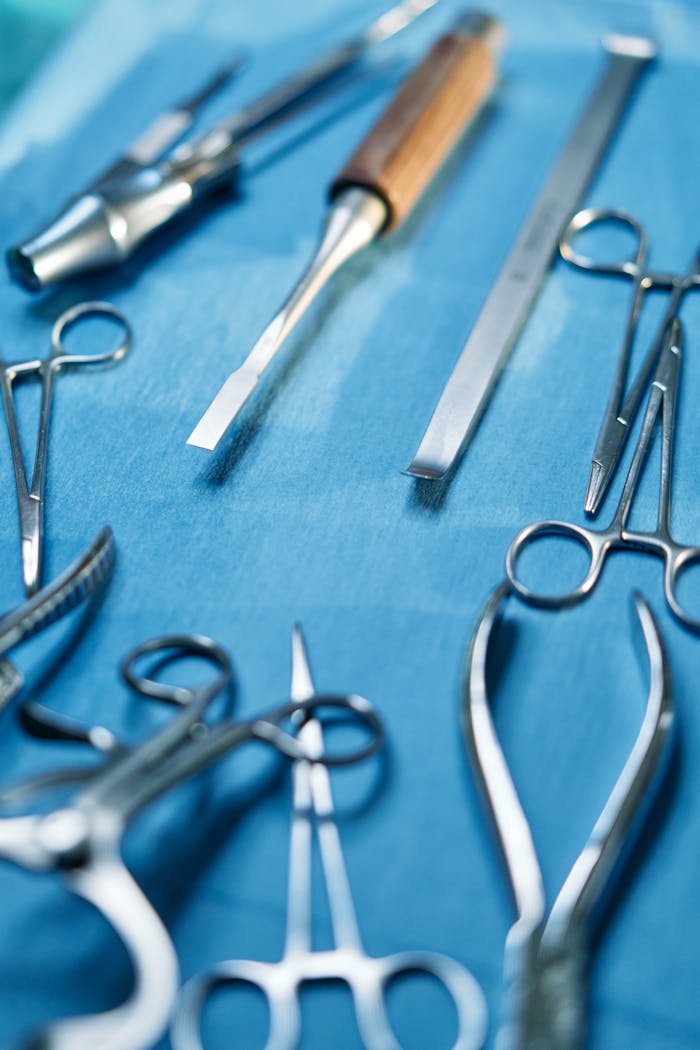
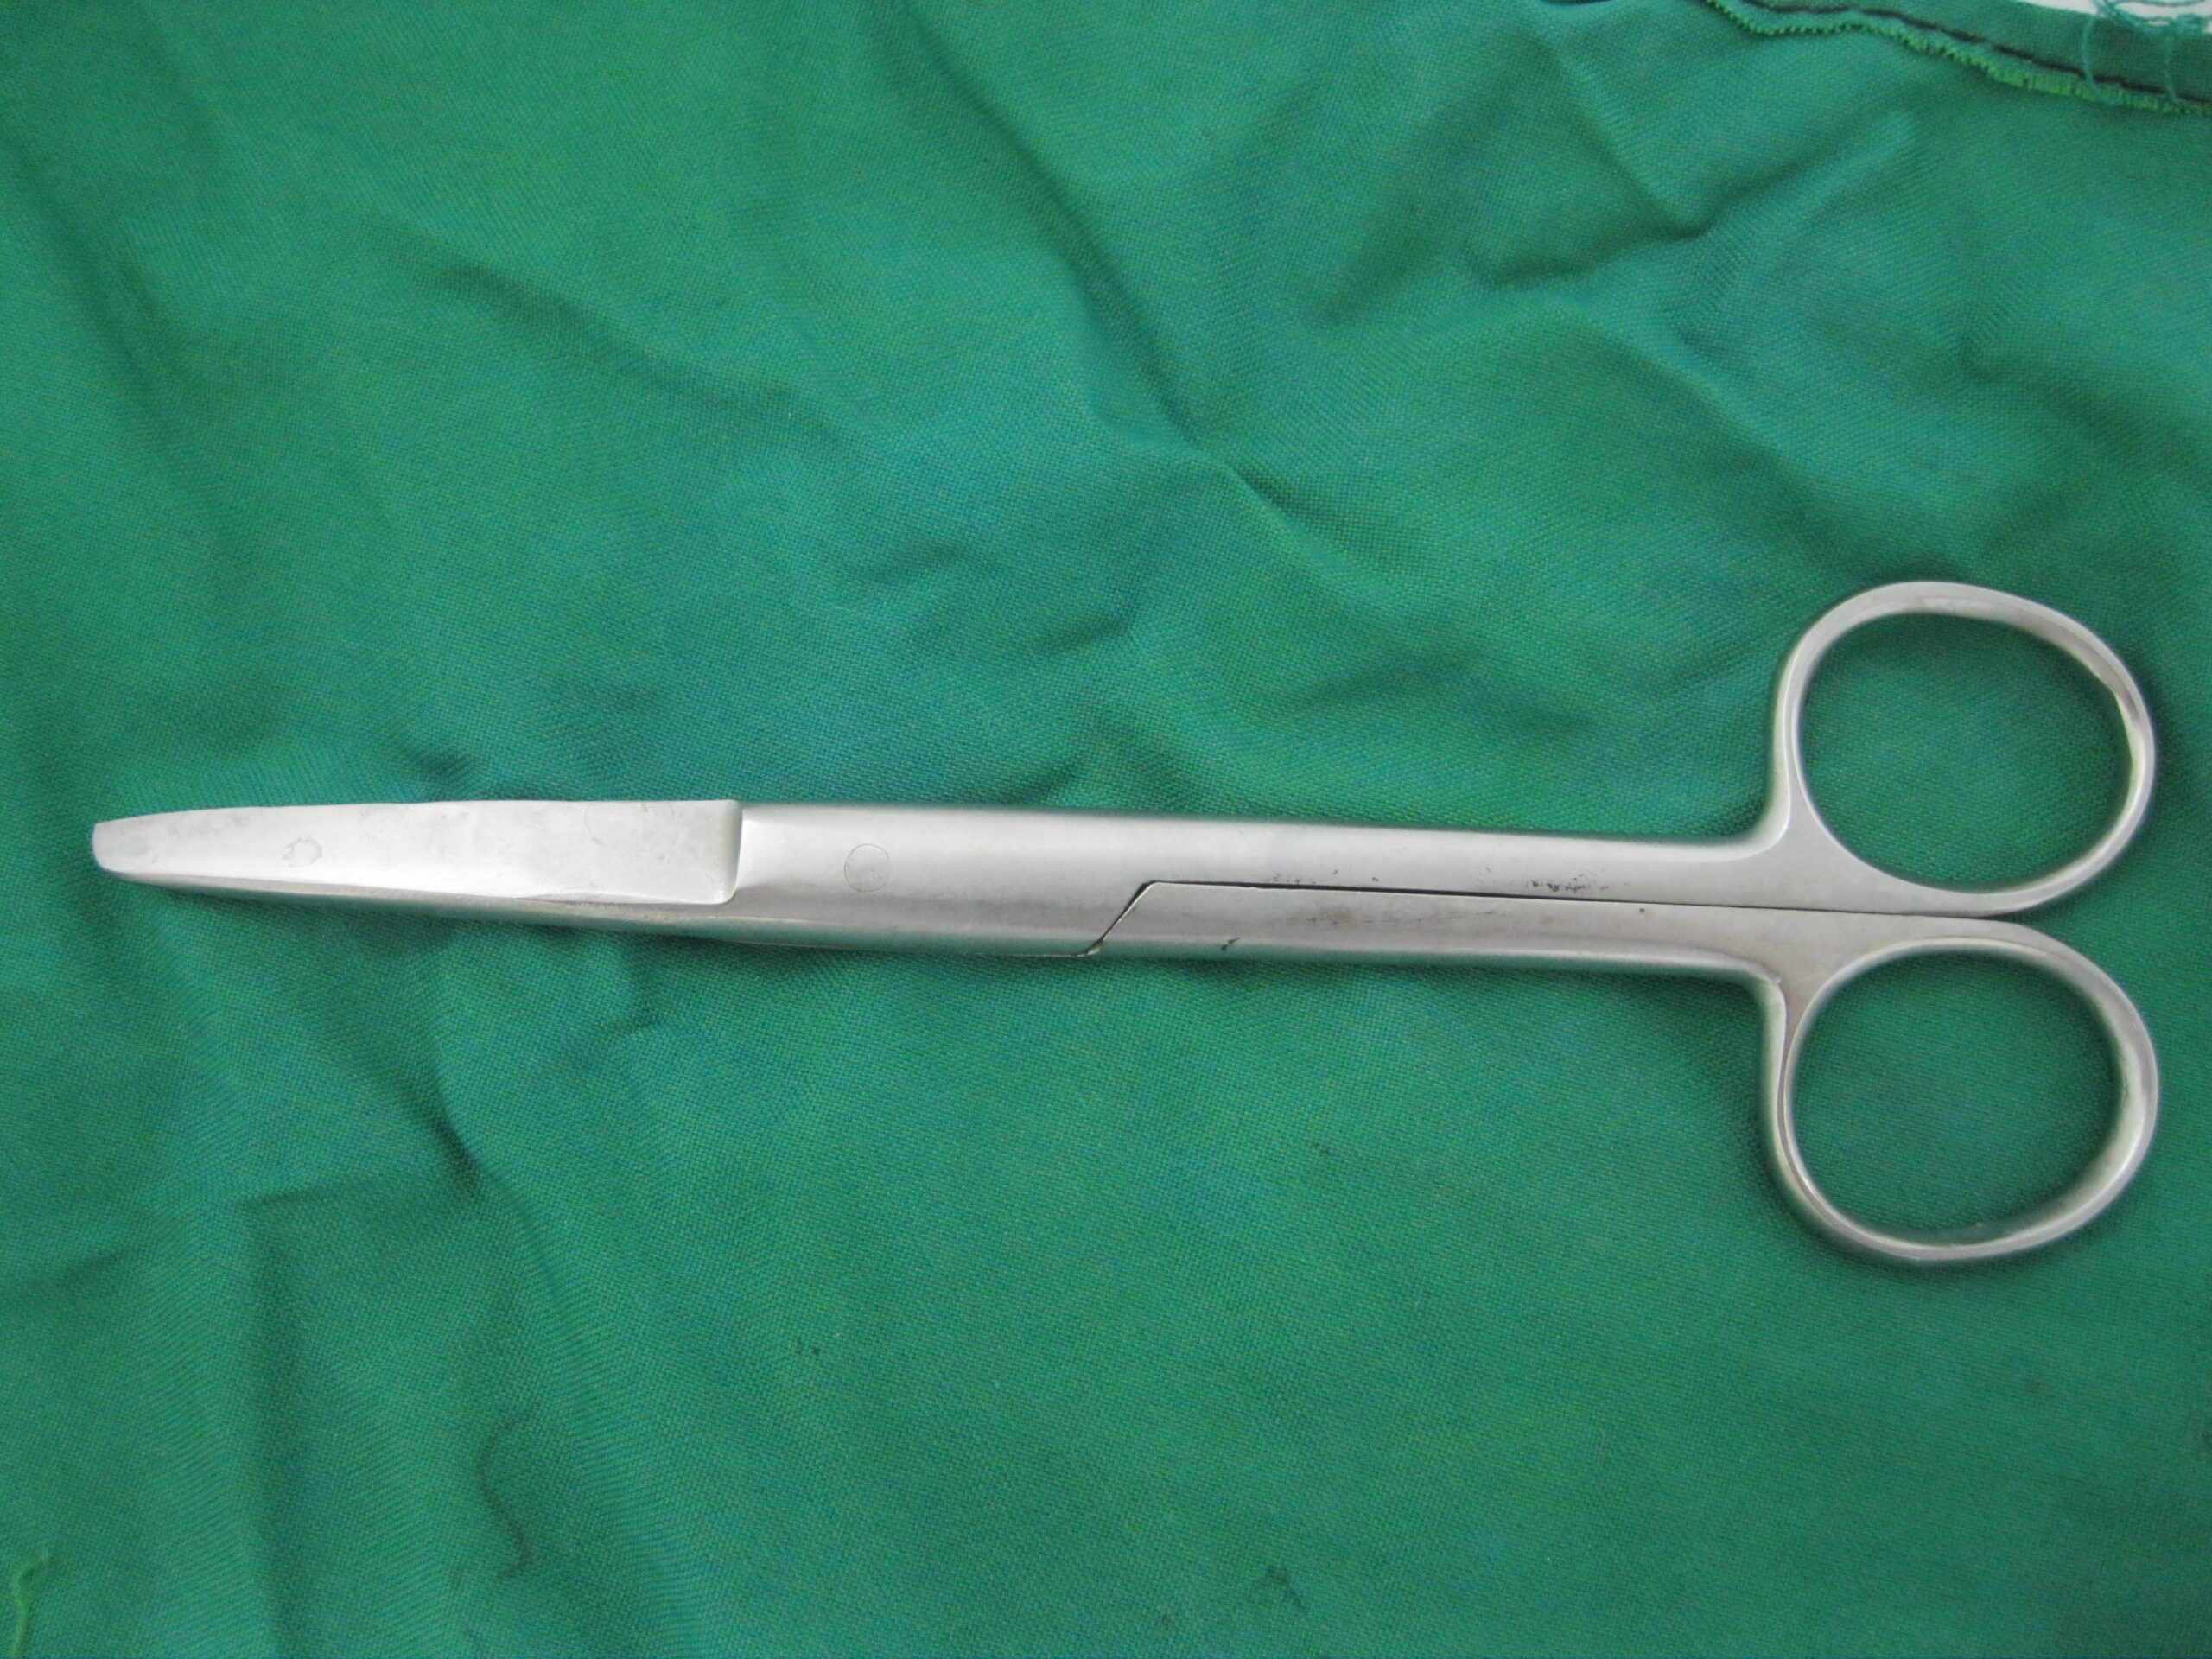
In modern operating environments, reusable surgical instruments must undergo rigorous cleaning, inspection, sterilization, and storage to maintain patient safety and instrument longevity. Dried blood and bioburden left on any instrument can shield microorganisms and impede sterilization, increasing infection risk and accelerating metal corrosion. A structured, multi‑step maintenance program that begins in the OR and continues through sterile processing ensures consistent performance, reduces costly instrument damage, and upholds regulatory standards.
Point‑of‑Use Instrument Care
Wiping and irrigating instruments immediately as they exit the surgical field prevents organic soils from drying and forming biofilm. At the completion of a case, scrub personnel should:
- Wipe instruments with a sterile sponge and water or enzymatic spray.
- Flush lumens of hollow instruments with sterile water.
- Disassemble multi‑part instruments.
- Transport instruments in closed, marked containers to decontamination.
Pre‑Soaking and Presoaking
Instruments should be presoaked or rinsed in a neutral‑pH enzymatic solution at the point of use to soften blood and tissue residues, simplifying subsequent cleaning steps. Avoid letting soils dry, as baked‑on debris drastically reduces cleaning efficacy and lengthens cycle times.
Manual and Mechanical Cleaning
Manual Cleaning
- Always follow the manufacturer’s Instructions for Use (IFU) regarding approved detergents and brush types to avoid damaging instrument surfaces or joints.
- Use a soft‑bristle brush under running water, opening all ratchets and hinges to expose hidden crevices.
Automated Cleaning
- Ultrasonic cleaners effectively dislodge debris from lumens and crevices; load instruments per tray‑spacing guidelines to ensure cavitation reaches all surfaces.
- Washer–disinfectors provide standardized wash cycles and water quality control, reducing manual handling and operator exposure to biohazardous soils.
Inspection and Routine Maintenance
After cleaning, instruments must be visually and functionally inspected under good light, using magnification when possible. Look for pitting, corrosion, misalignment, or dull cutting edges. Establish a schedule for periodic professional servicing to sharpen blades and repair worn joints—typically every six months or sooner if performance declines.
Lubrication (“Milking”)
Lubricate all movable parts monthly with a medical‑grade, instrument‑specific lubricant to reduce friction, prevent wear, and displace moisture from joints. Ensure excess lubricant is removed by running instruments through a brief washer cycle or wiping with lint‑free cloths.
Packaging and Sterilization
Select packaging based on instrument type and sterilizer modality—rigid containers, peel‑pouches, or wraps—and always verify compatibility with your sterilizer system. Before sterilization:
- Ensure instruments are completely dry to prevent moisture compromising package integrity.
- Arrange items to allow steam or gas penetration without overcrowding.
- Include chemical and biological indicators in loads to monitor sterilization efficacy.
Post‑Sterilization Storage
Store sterilized instruments in a clean, dry area protected from dust, vibration, and direct sunlight. Keep trays or pouches sealed until point of use. Open‑shelf systems should hold instruments in their sterilization containers or wraps to maintain sterility until needed.
Documentation and Regulatory Compliance
Maintain detailed logs for each instrument set, documenting cleaning cycles, sterilization parameters, indicator results, and maintenance activities. This traceability is essential to comply with FDA guidance on device reprocessing and to meet accreditation standards.
By implementing these comprehensive, evidence‑based steps, your sterile processing team will maximize instrument lifespan, uphold patient safety, and maintain compliance with infection‑control regulations across all general‑surgery equipment.


